
BI Publisher – Part I
In this blog series, we will refresh and present BI Publisher again. We’ll walk through the generation of a BI Publisher report step-by-step.
Step 1: To begin, create the query that you want to turn into a report. Utilize Query Manager just as you would any other query; name and save it.

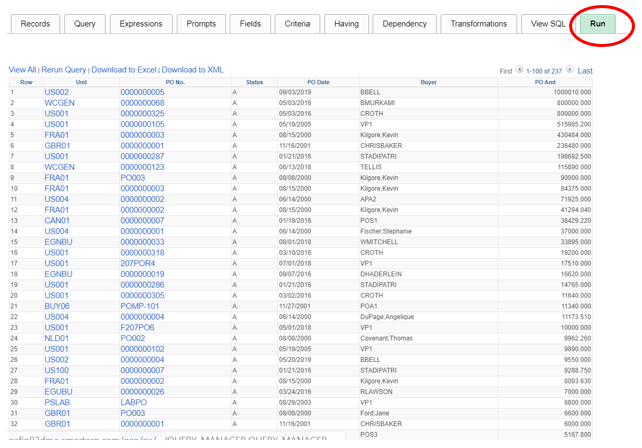
Step 2: Run the query.
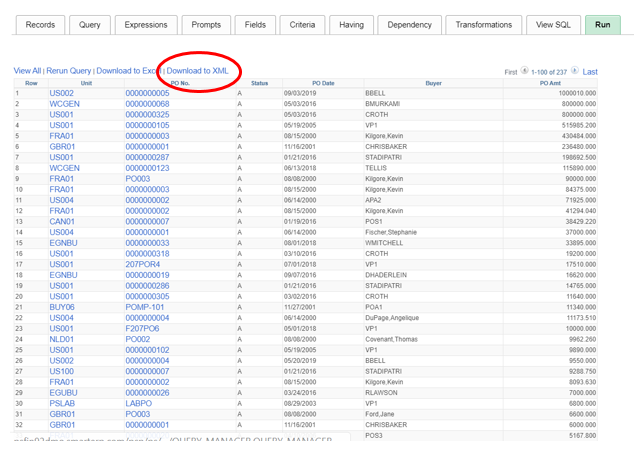
Step 3. Download to XML.
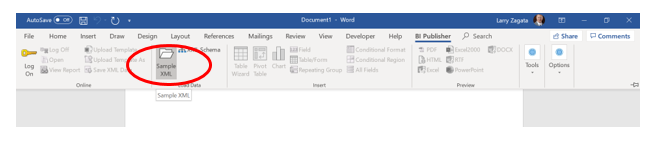
Step 4: Open Word (assuming you already downloaded the add in). Go to the BI Publisher ribbon and click on Sample XML. This will prompt you to select the XML from your query.
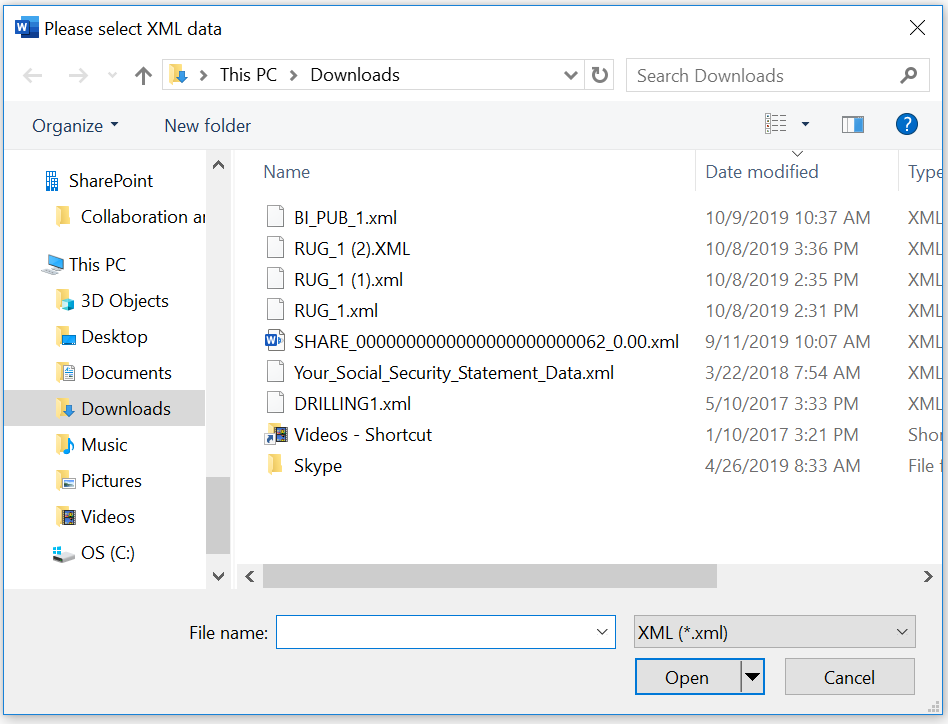
You should receive a message indicating the data loaded successfully.
Step 5: The XML data is now loaded, and you are ready to use Word to build your report. In this example, we will build a simple table-based report. Select the Table Wizard.

Step 6: Choose a Table report format.

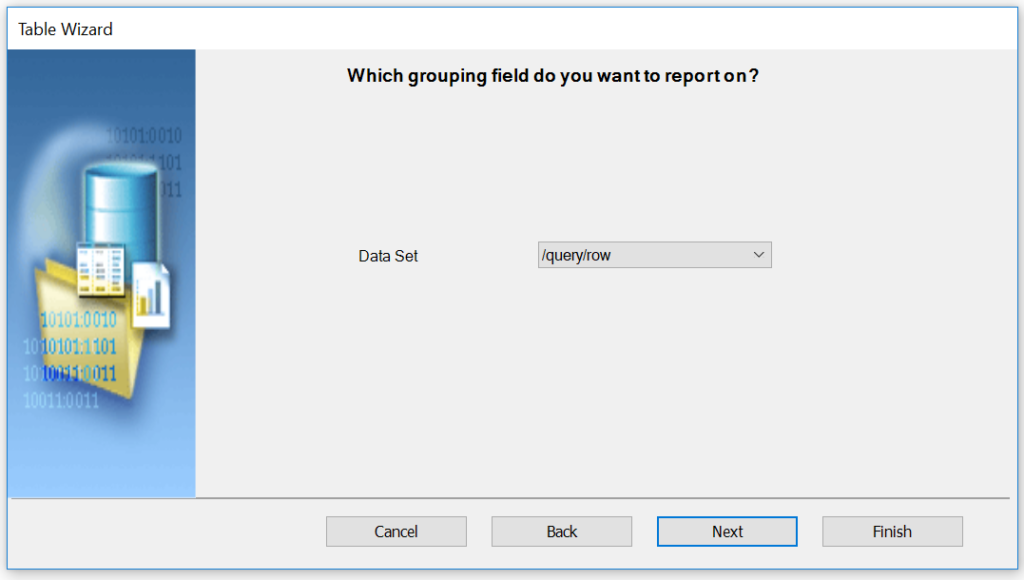
Step 7: Choose query/row as the data set.
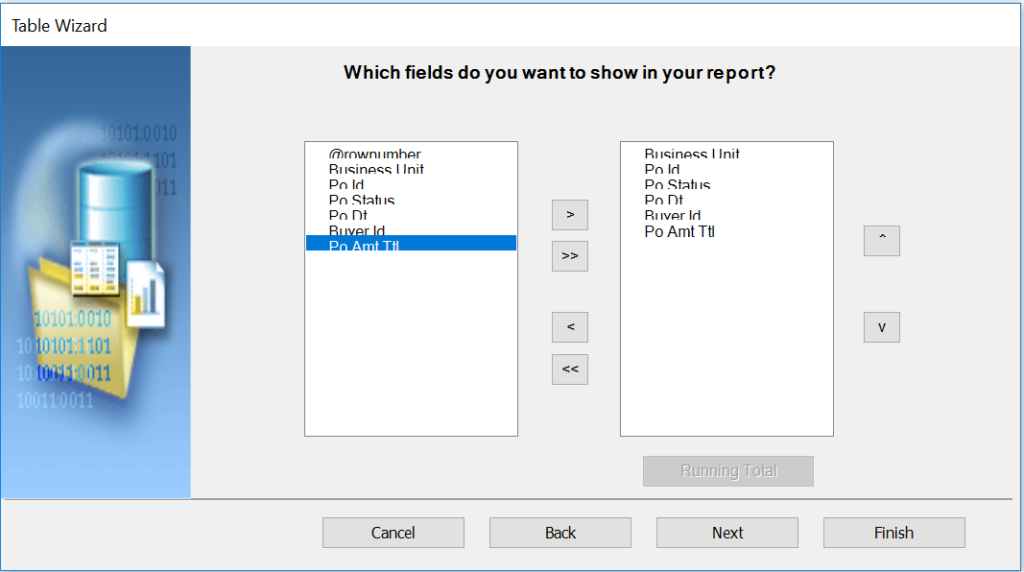
Step 8: Select all the fields you want to include in the report.
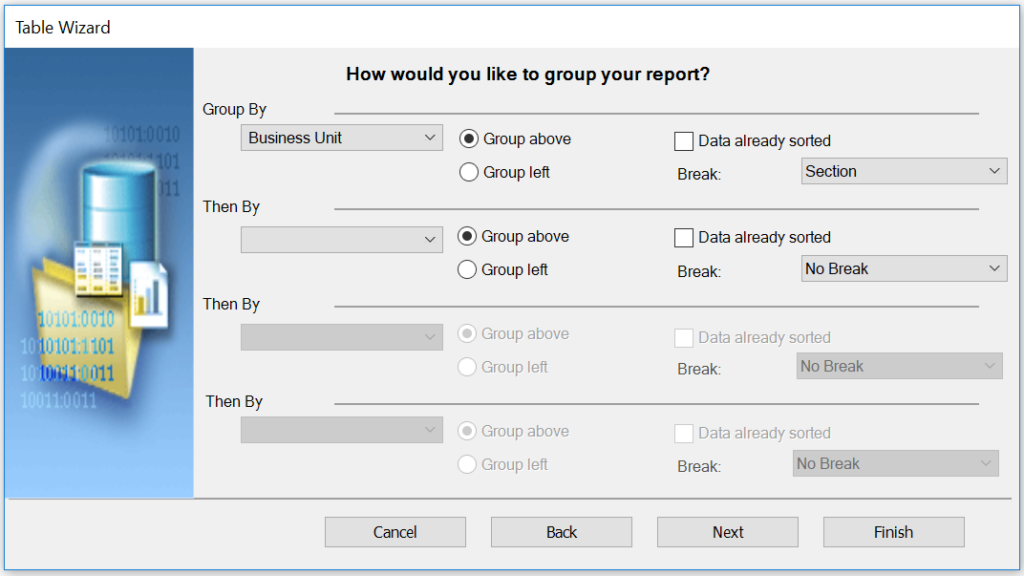
Step 9: Select how you would like to group your report.
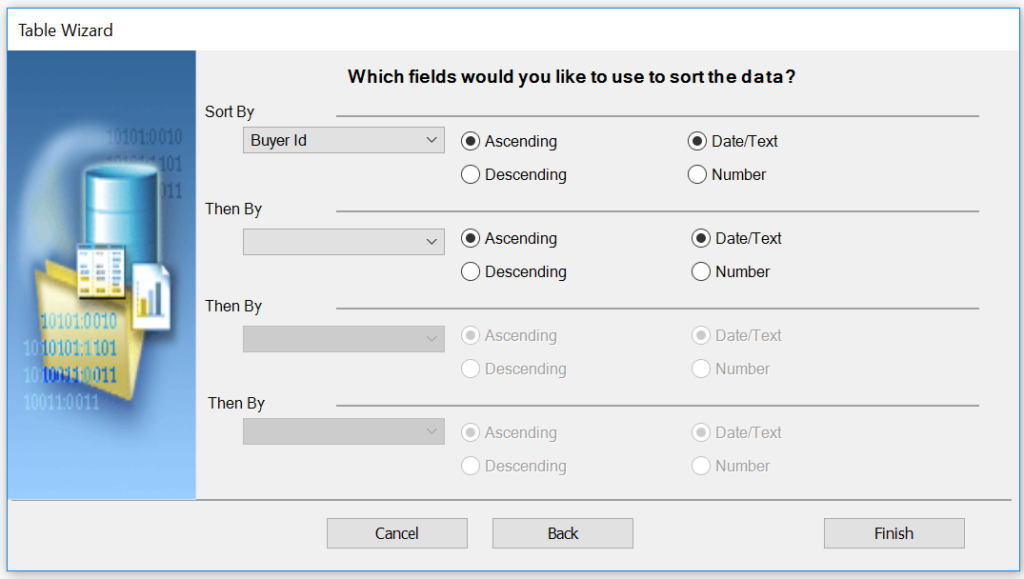
Step 10: Select how you want the data sorted.
Step 11: Hit finish and the template will be created.
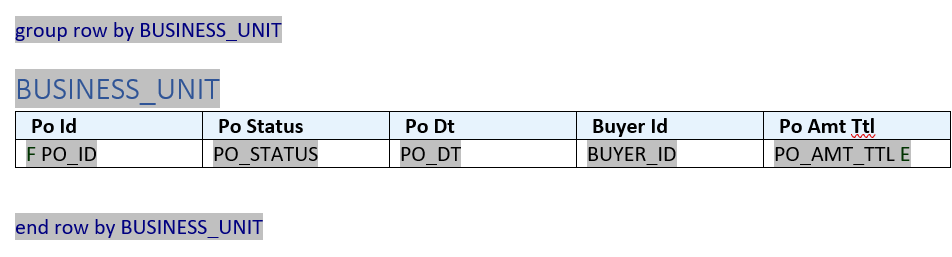
Step 12: You have full Word capabilities needed to format and structure your report. Add logos, center, highlight, change font, etc. In this example, we will italicize and add a $ in front of PO_Amt_Ttl.

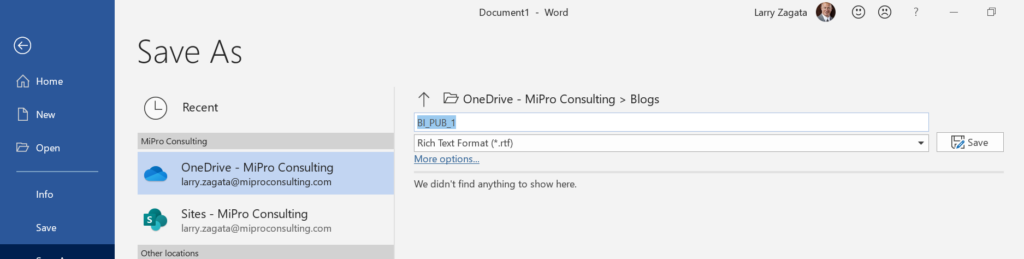
Step 13: Be sure to save your report as Rich Text Format.
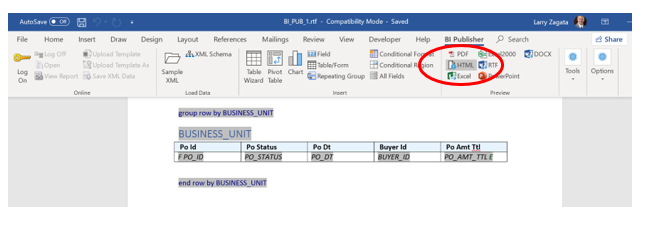
Step 14: To preview your report, go to BI Publisher tab, and select PDF, HTML, etc.
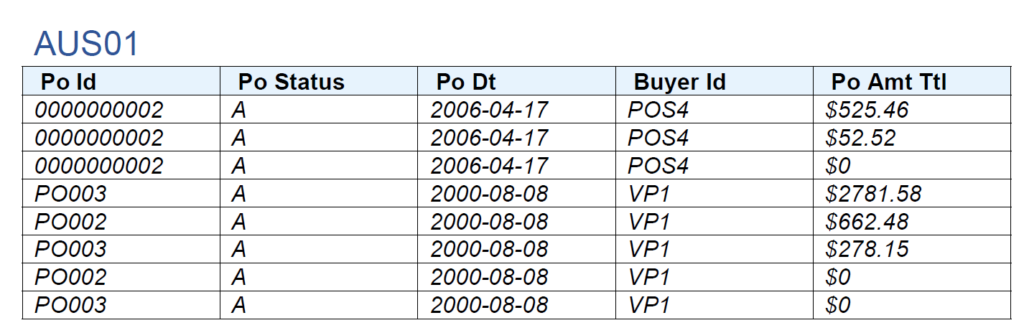
Step 15: The report is generated. You can see the italicized font and the $ in front of PO Amt Ttl. Per our selections, the report is grouped by Business Unit and sorted by Buyer ID.
It’s that easy to define and create a report. Next, complete the process by defining the report in PeopleSoft and scheduling it to run. Additional topics on BI Publisher will be explored later in this blog series.
As always, if you have any questions or need any additional information, please email me at Larry.zagata@miproconsulting.com. To read more about MIPRO Consulting, click here.
